Marble Grout: A Comprehensive Guide to Its Application and Benefits

Yuki

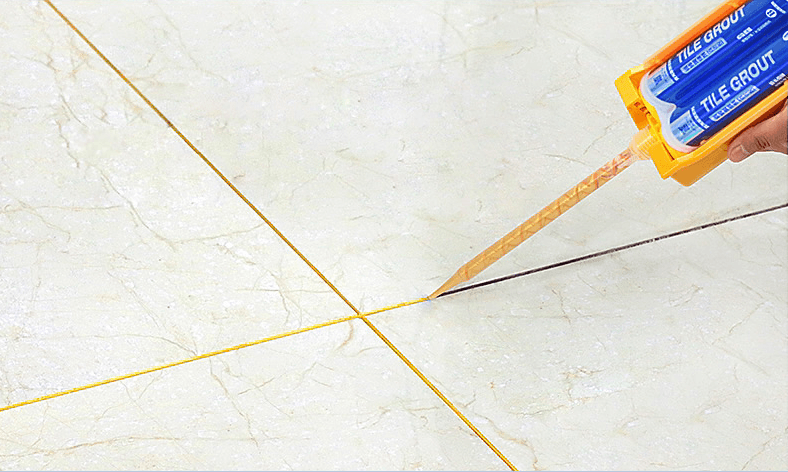
A worker is applying yellow tile grout to the joint between four marble tiles using a grout gun. The grout fills the gap neatly, providing a clean, smooth finish between the tiles.

Marble Grout is a material known for its strong adhesive properties, minimal shrinkage, and robust color retention. It offers flexibility to prevent cracking, excellent decorative texture, and resistance to pressure and wear. It also features anti-mold characteristics and can perfectly repair cracks or damage on the surface of floors. Additionally, it can be painted on the surface and has good water resistance.

Moreover, grout comes in a wide range of colors, and its color can be customized, making it increasingly popular. Grout is mainly divided into two major categories: cement-based and resin-based.

Usage of Marble Grout

Wall Tiling:

  1. First, dampen the wall surface with clean water. Wait until the surface is dry before applying the adhesive.

  2. Within the specified time, finish tiling the marble. When applying, gently twist and rub the marble up and down, or gently tap with a wooden hammer to ensure a tight bond between the marble and the adhesive.

  3. Adjust the level and the joints between neighboring slabs, ensuring a gap of 2mm or more between the marble slabs.

  4. Preliminary cleaning of dirt attached to the surface of the slabs. Only after three days of marble tiling can the joint cleaning and grouting be carried out. Use a special grout for artificial marble.

  5. After grouting, clean the grout and dirt attached to the surface of the slabs in time.

  6. After the marble is tiled, the protective film can only be removed after acceptance and cleaning.

  7. It is recommended not to use the traditional wet hanging method for marble construction.

Floor Tiling:

  1. First, dampen the floor surface with clean water. Wait until the surface is visibly dry before applying the adhesive.

  2. Ensure the surface is dry, then apply the special artificial stone adhesive (strip shape/full scraping) with a thickness of more than 3mm. Do the same on the back of the stone with a thickness of 2-3mm, and then apply the stone.

  3. Within the specified time (according to the adhesive product instructions), finish tiling the stone. After laying the stone, gently tap with a wooden hammer to ensure the new artificial stone is tightly bonded with the adhesive.

  4. Adjust the level and the joints between neighboring slabs (grouting construction). Ensure a gap of 2mm or more between the stone slabs.

  5. Only after three days of stone tiling (according to the instructions for the special artificial stone adhesive) can the joint cleaning and grouting be carried out. Use a special grout for artificial stone during the process.

  6. After grouting, clean (do not use acidic or alkaline cleaners, it is recommended to use a special artificial stone cleaner) the grout and dirt attached to the surface of the slabs.

  7. Notes: When tiling a large area, a 5-8mm expansion joint should be set at an appropriate interval of 8-10 meters.

  8. After the stone is tiled, the film can only be torn off after acceptance and cleaning.
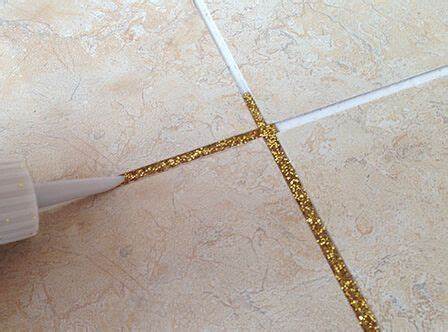
A close-up of a person applying gold glitter tile grout to a beige ceramic tile joint. The grout adds a decorative, sparkling effect to the tile design.
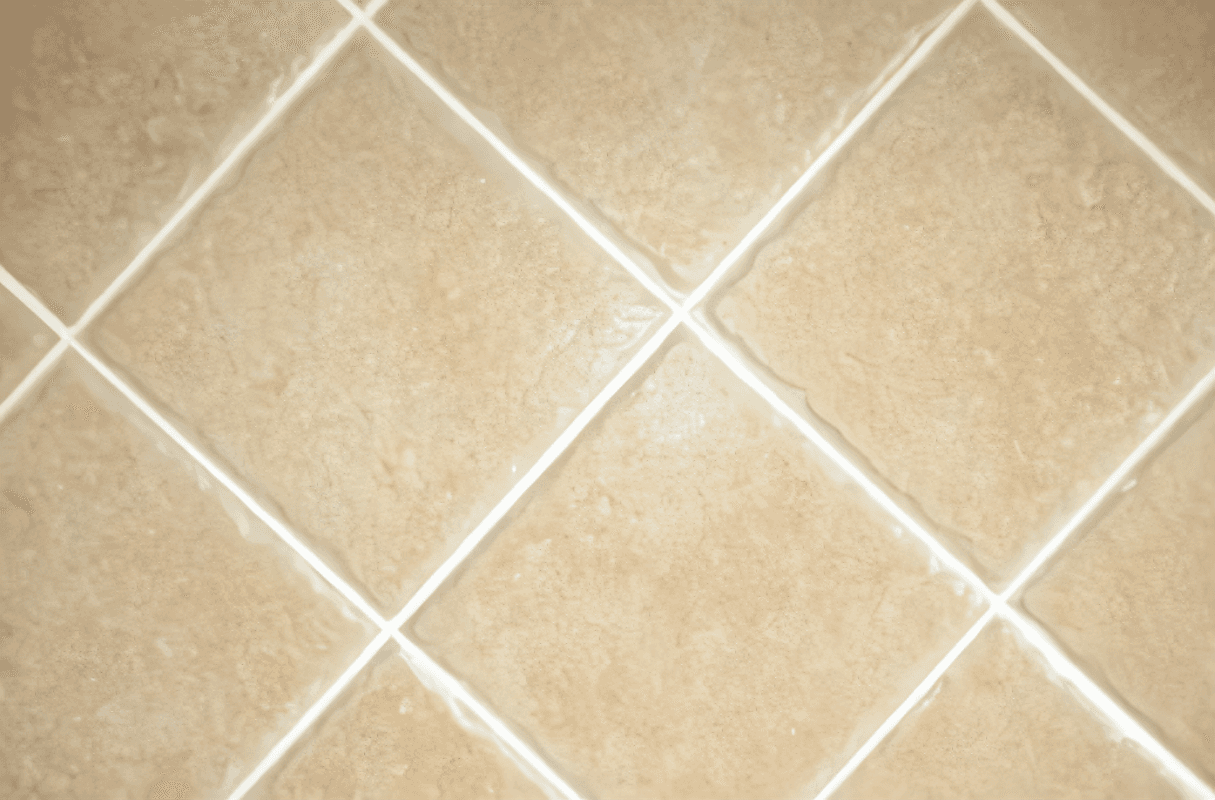
Beige ceramic tiles arranged in a diamond pattern with white tile grout neatly applied between each tile. The clean, consistent lines enhance the overall appearance of the tiled surface.
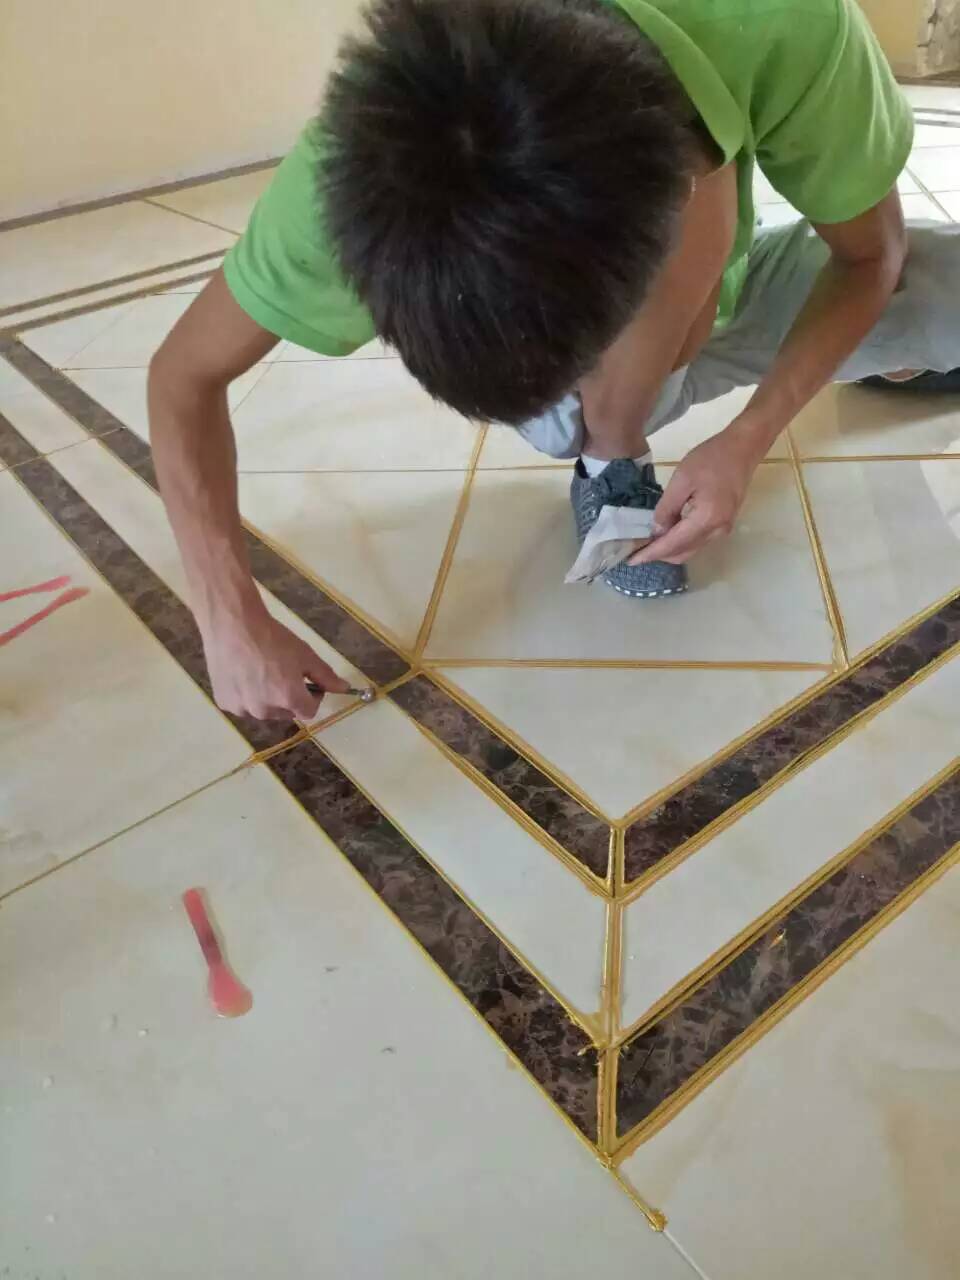
A worker in a green shirt carefully applying gold tile grout along the edges of a tiled floor with a marble inlay. The worker focuses on ensuring precise grout application for a decorative finish.
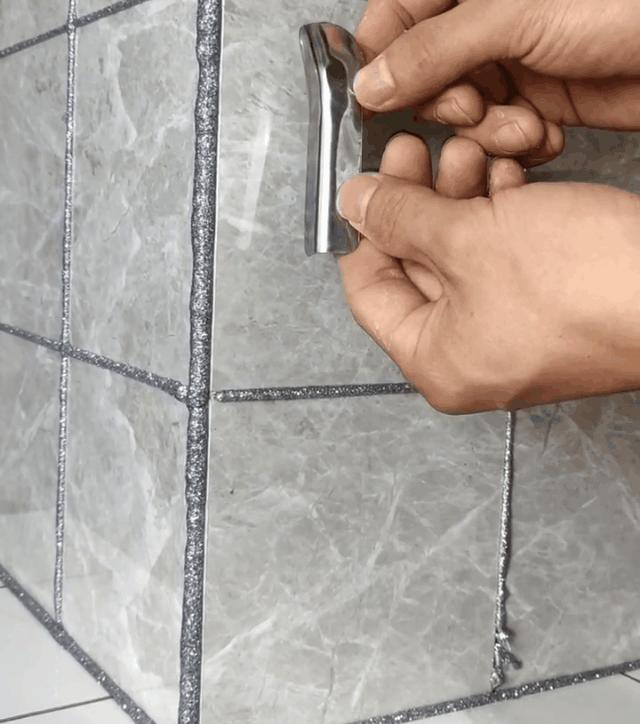
A hand holding a tool to smooth out silver glitter grout between tiles on a grey stone surface. The grout lines are being refined for a clean and polished look.

Quanzhou Dinosaw Machinery Technology Co.,Ltd.

2018-2024 @ Dinosaw Copyrights

Quanzhou Dinosaw Machinery Technology Co.,Ltd.

2018-2024 @ Dinosaw Copyrights

Quanzhou Dinosaw Machinery Technology Co.,Ltd.

2018-2024 @ Dinosaw Copyrights