




 中文
 Italian
 Türkçe
 Português
 Español
 Deutsch
 العربية
 Tiếng Việt
 Français
 Русский
 한국어


Ms.Lizzy
Hi, this is Lizzy from Dinosaw ( Not a Robot ). Which Machine ( model ) do you want? Please WhatsApp us now


Open Hours:8:30am-20:30pm

WhatsApp: +86 198-5901-3937

 Feb 4, 20263 MIN READ
 Feb 4, 20263 MIN READ
Navigate the full CNC stone carving workflow, from digital drawings to finished production. Compare 3-axis vs 5-axis machine performance to scale output, avoid costly purchasing pitfalls, and master high-efficiency, low-cost sculpting strategies.
What happens when ancient stone carving meets modern CNC technology? Everything you need to know about equipment, software, and techniques to create stunning stone artwork.
CNC technology has revolutionized the ancient art of stone carving, replacing hammer and chisel with computer-controlled precision that transforms how we create sculptural masterpieces.
Turning ideas into finished stone pieces requires understanding the right equipment, mastering software workflows, and handling different stone personalities-granite's tough as steel, while marble's more forgiving.
This guide covers equipment selection, design workflow, and common pitfalls to help you create beautiful pieces and build a profitable business. Contact DINOSAW experts for personalized Stone Carving equipment guidance tailored to your specific needs.
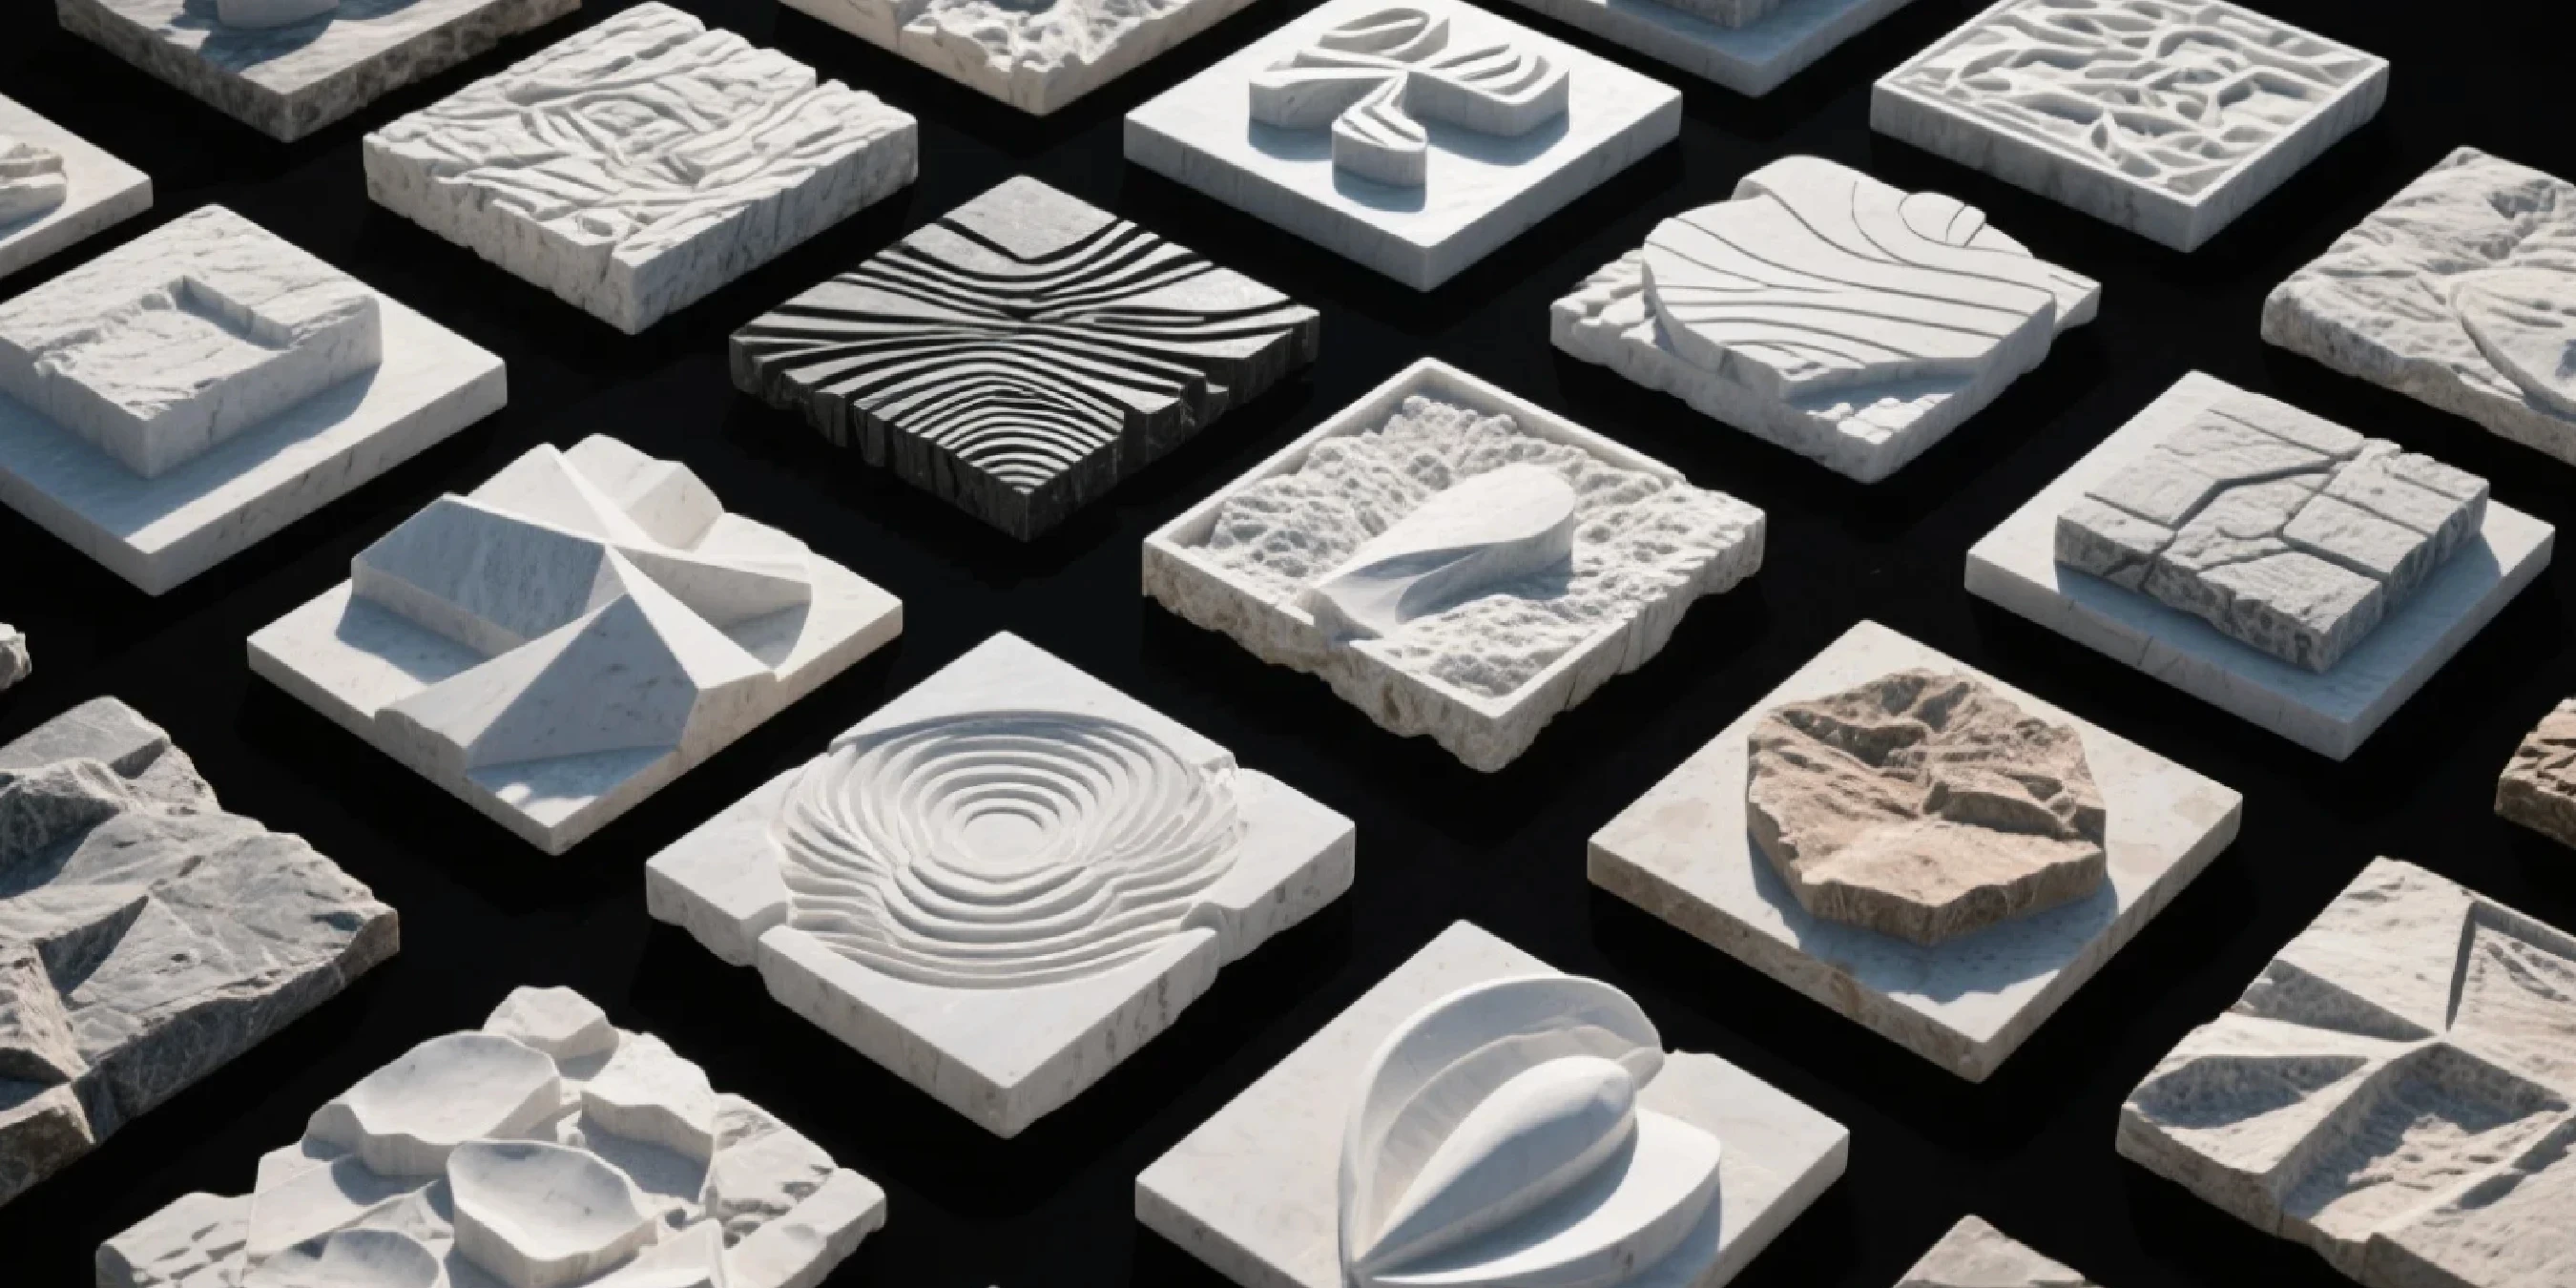
💡 Simply Put: It's Computer-Controlled Stone Sculpting
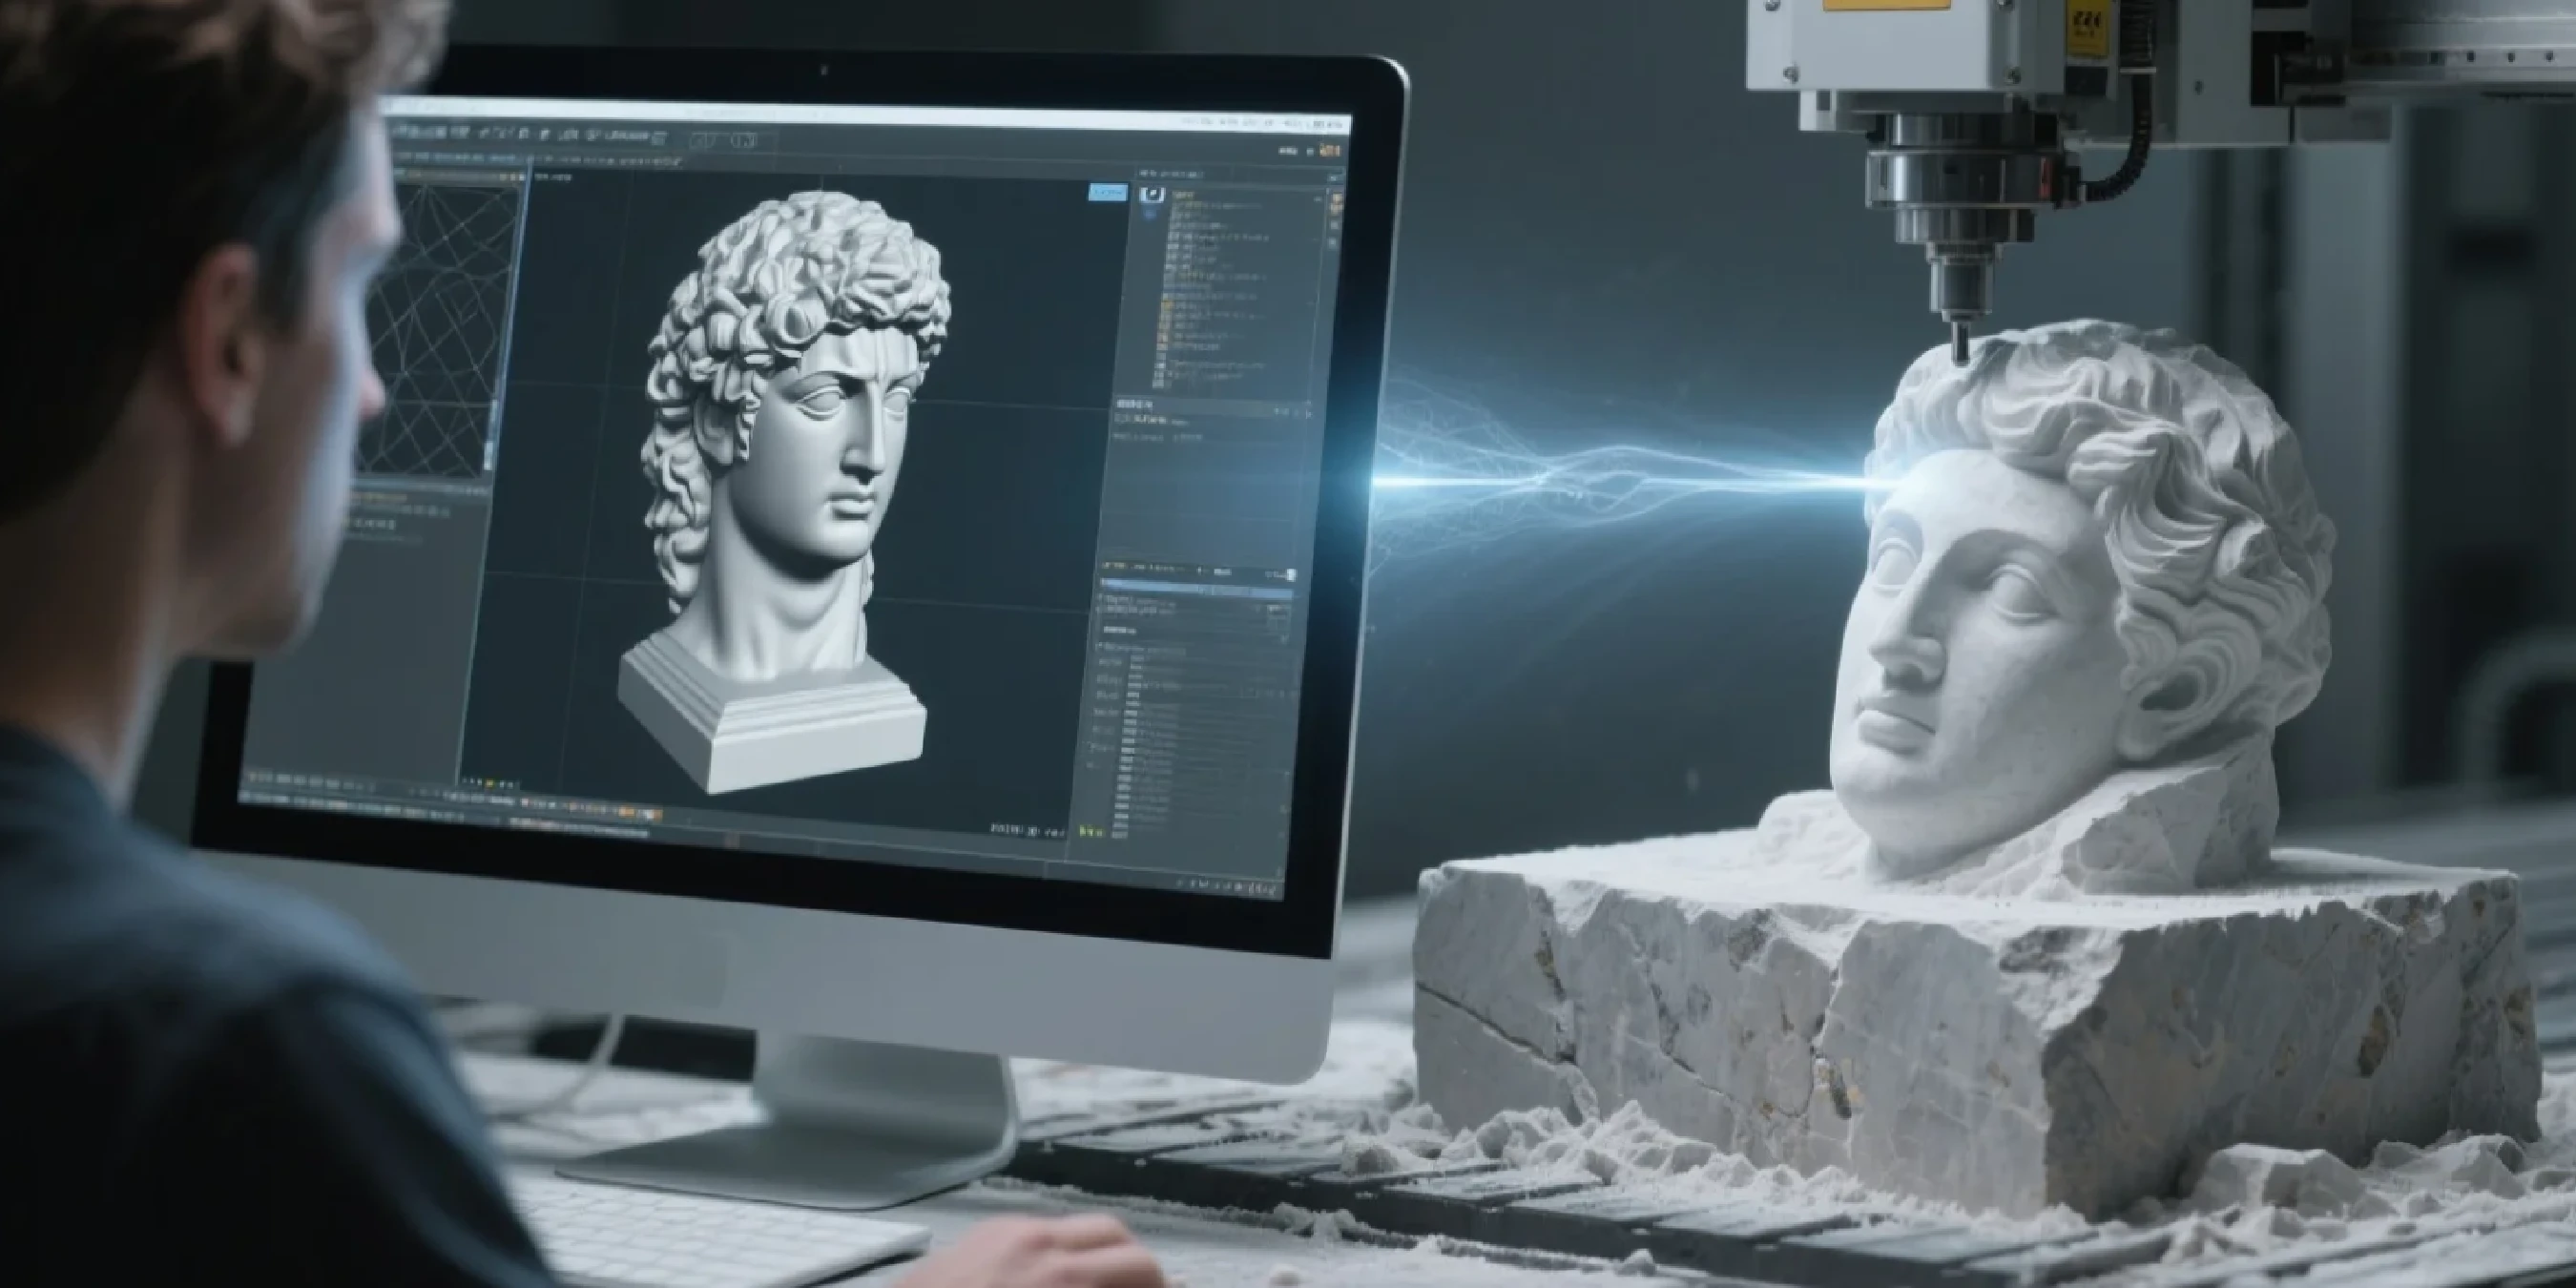
CNC stone carving lets computers control machines to sculpt stone. Instead of needing chisels and hammers, the machine follows your 3D design and precisely cuts away material bit by bit. The whole process runs automatically-you just need to monitor it.
This technology is everywhere now. From park sculptures and monuments to kitchen countertops and decorative panels, even complex architectural details-CNC can handle it all.
🎯 Three Big Advantages: Precision, Speed, Creative Freedom
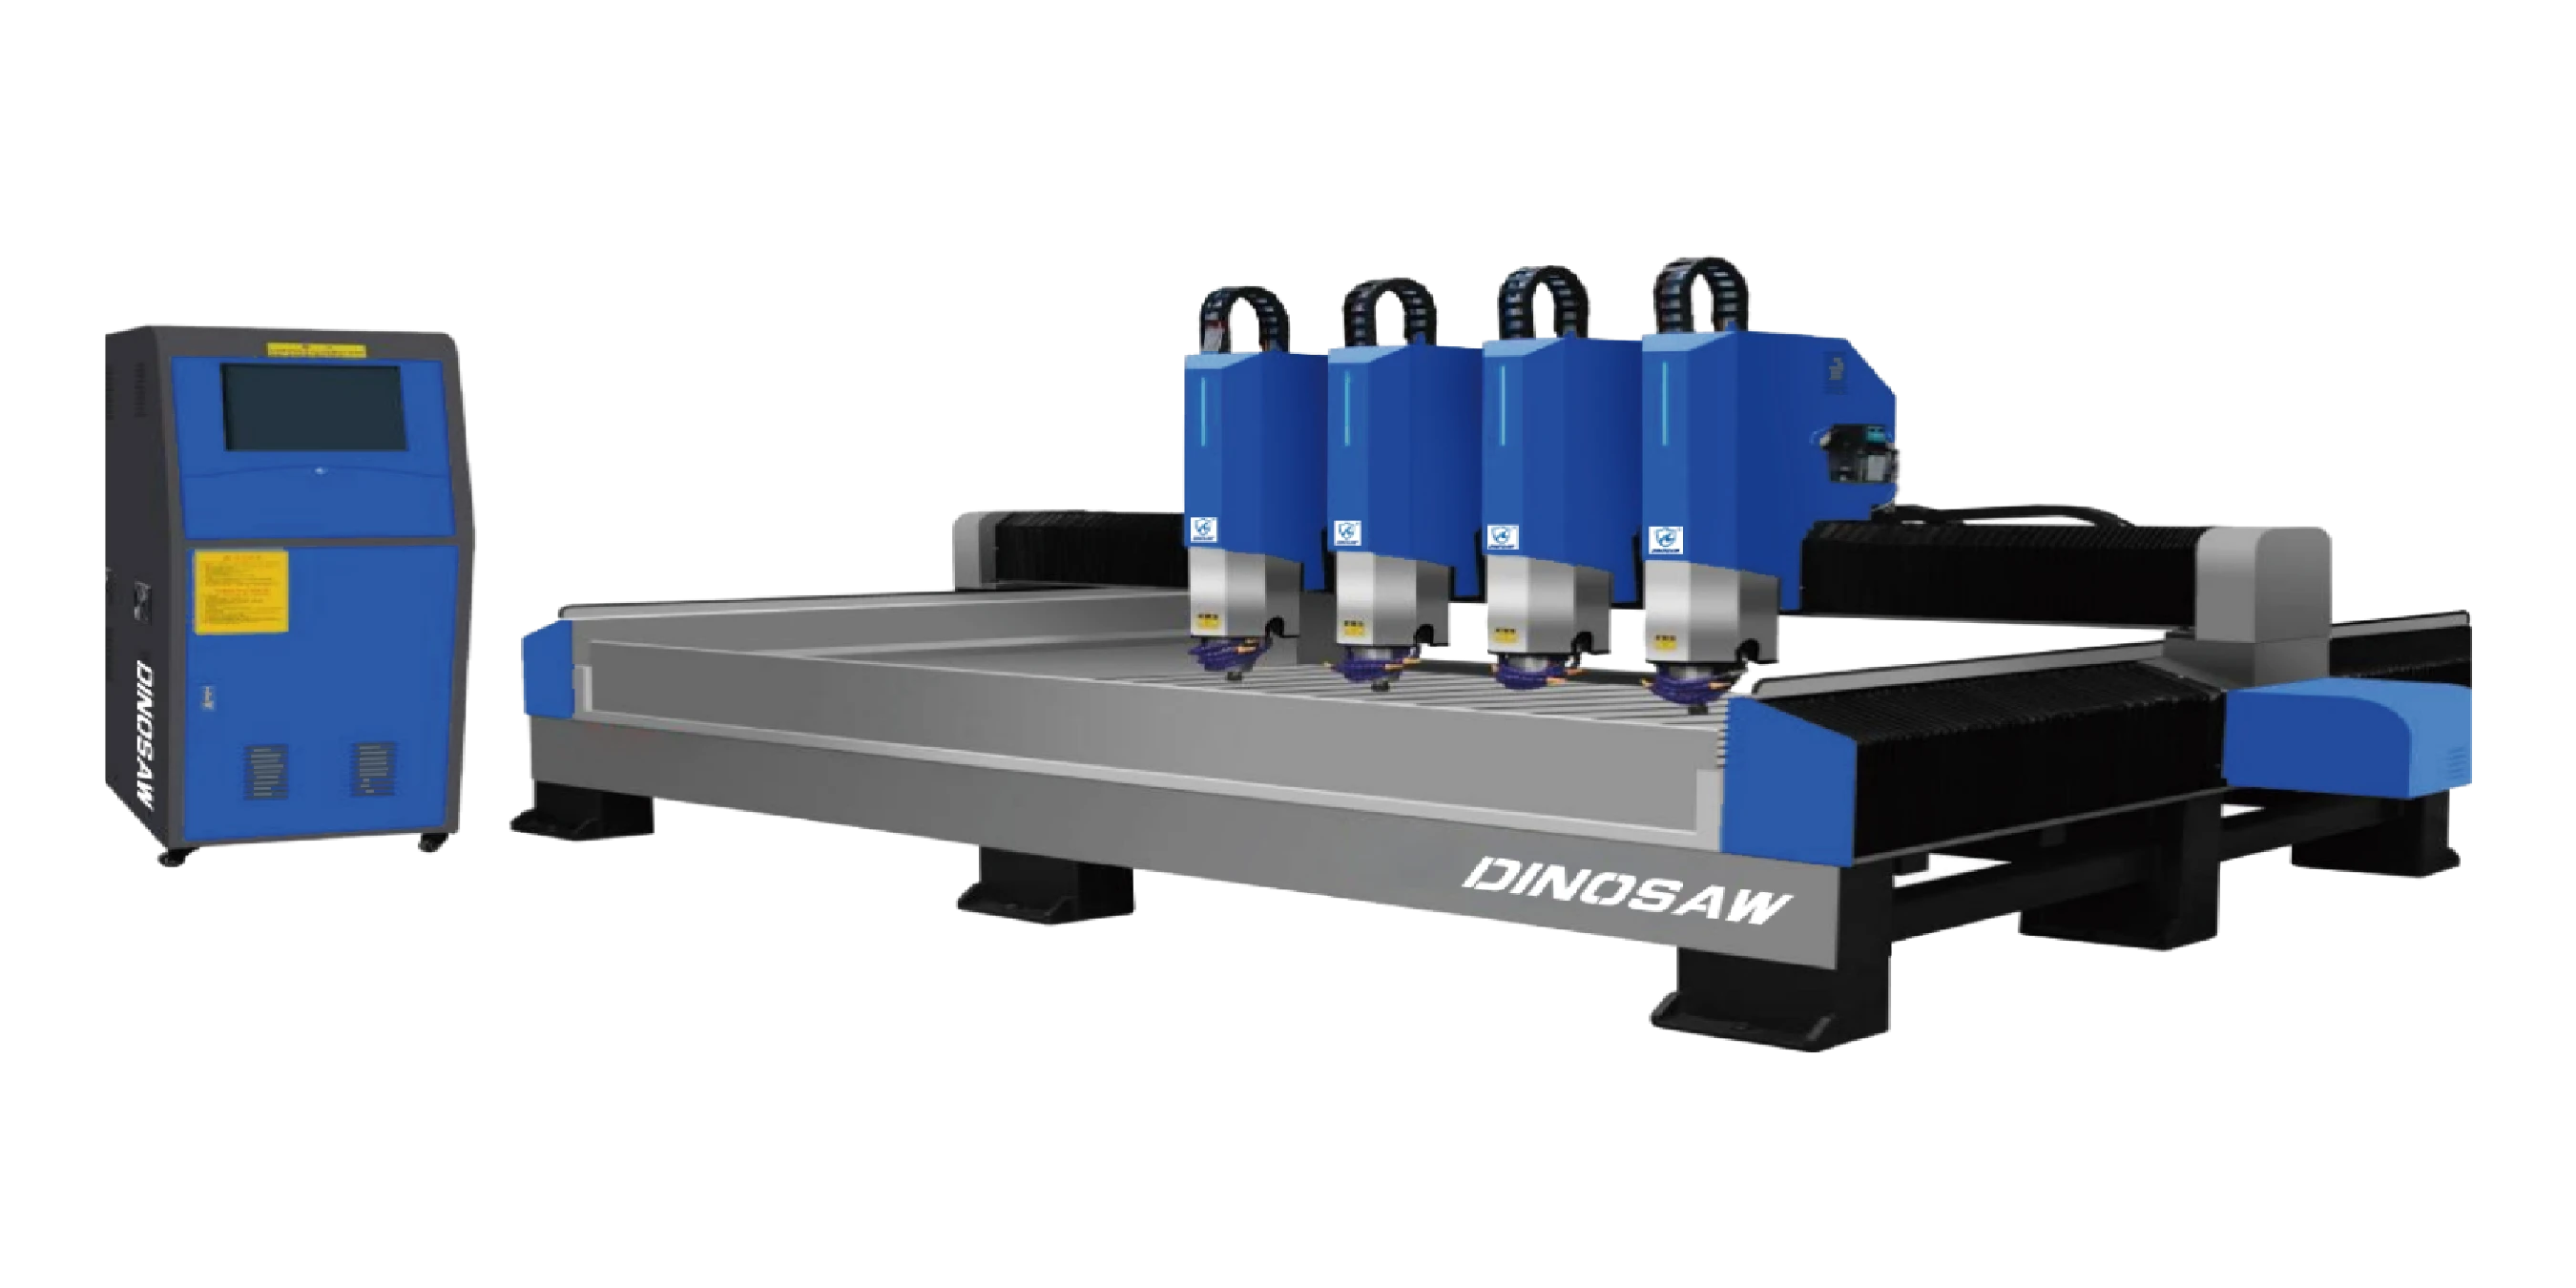
Picking equipment is the most critical decision-it directly determines what kind of work you can do. Many beginners get overwhelmed here, not knowing what to buy. Really, it comes down to your needs and budget.
🤔 Axis Selection: Get What You Need, Don't Overspend
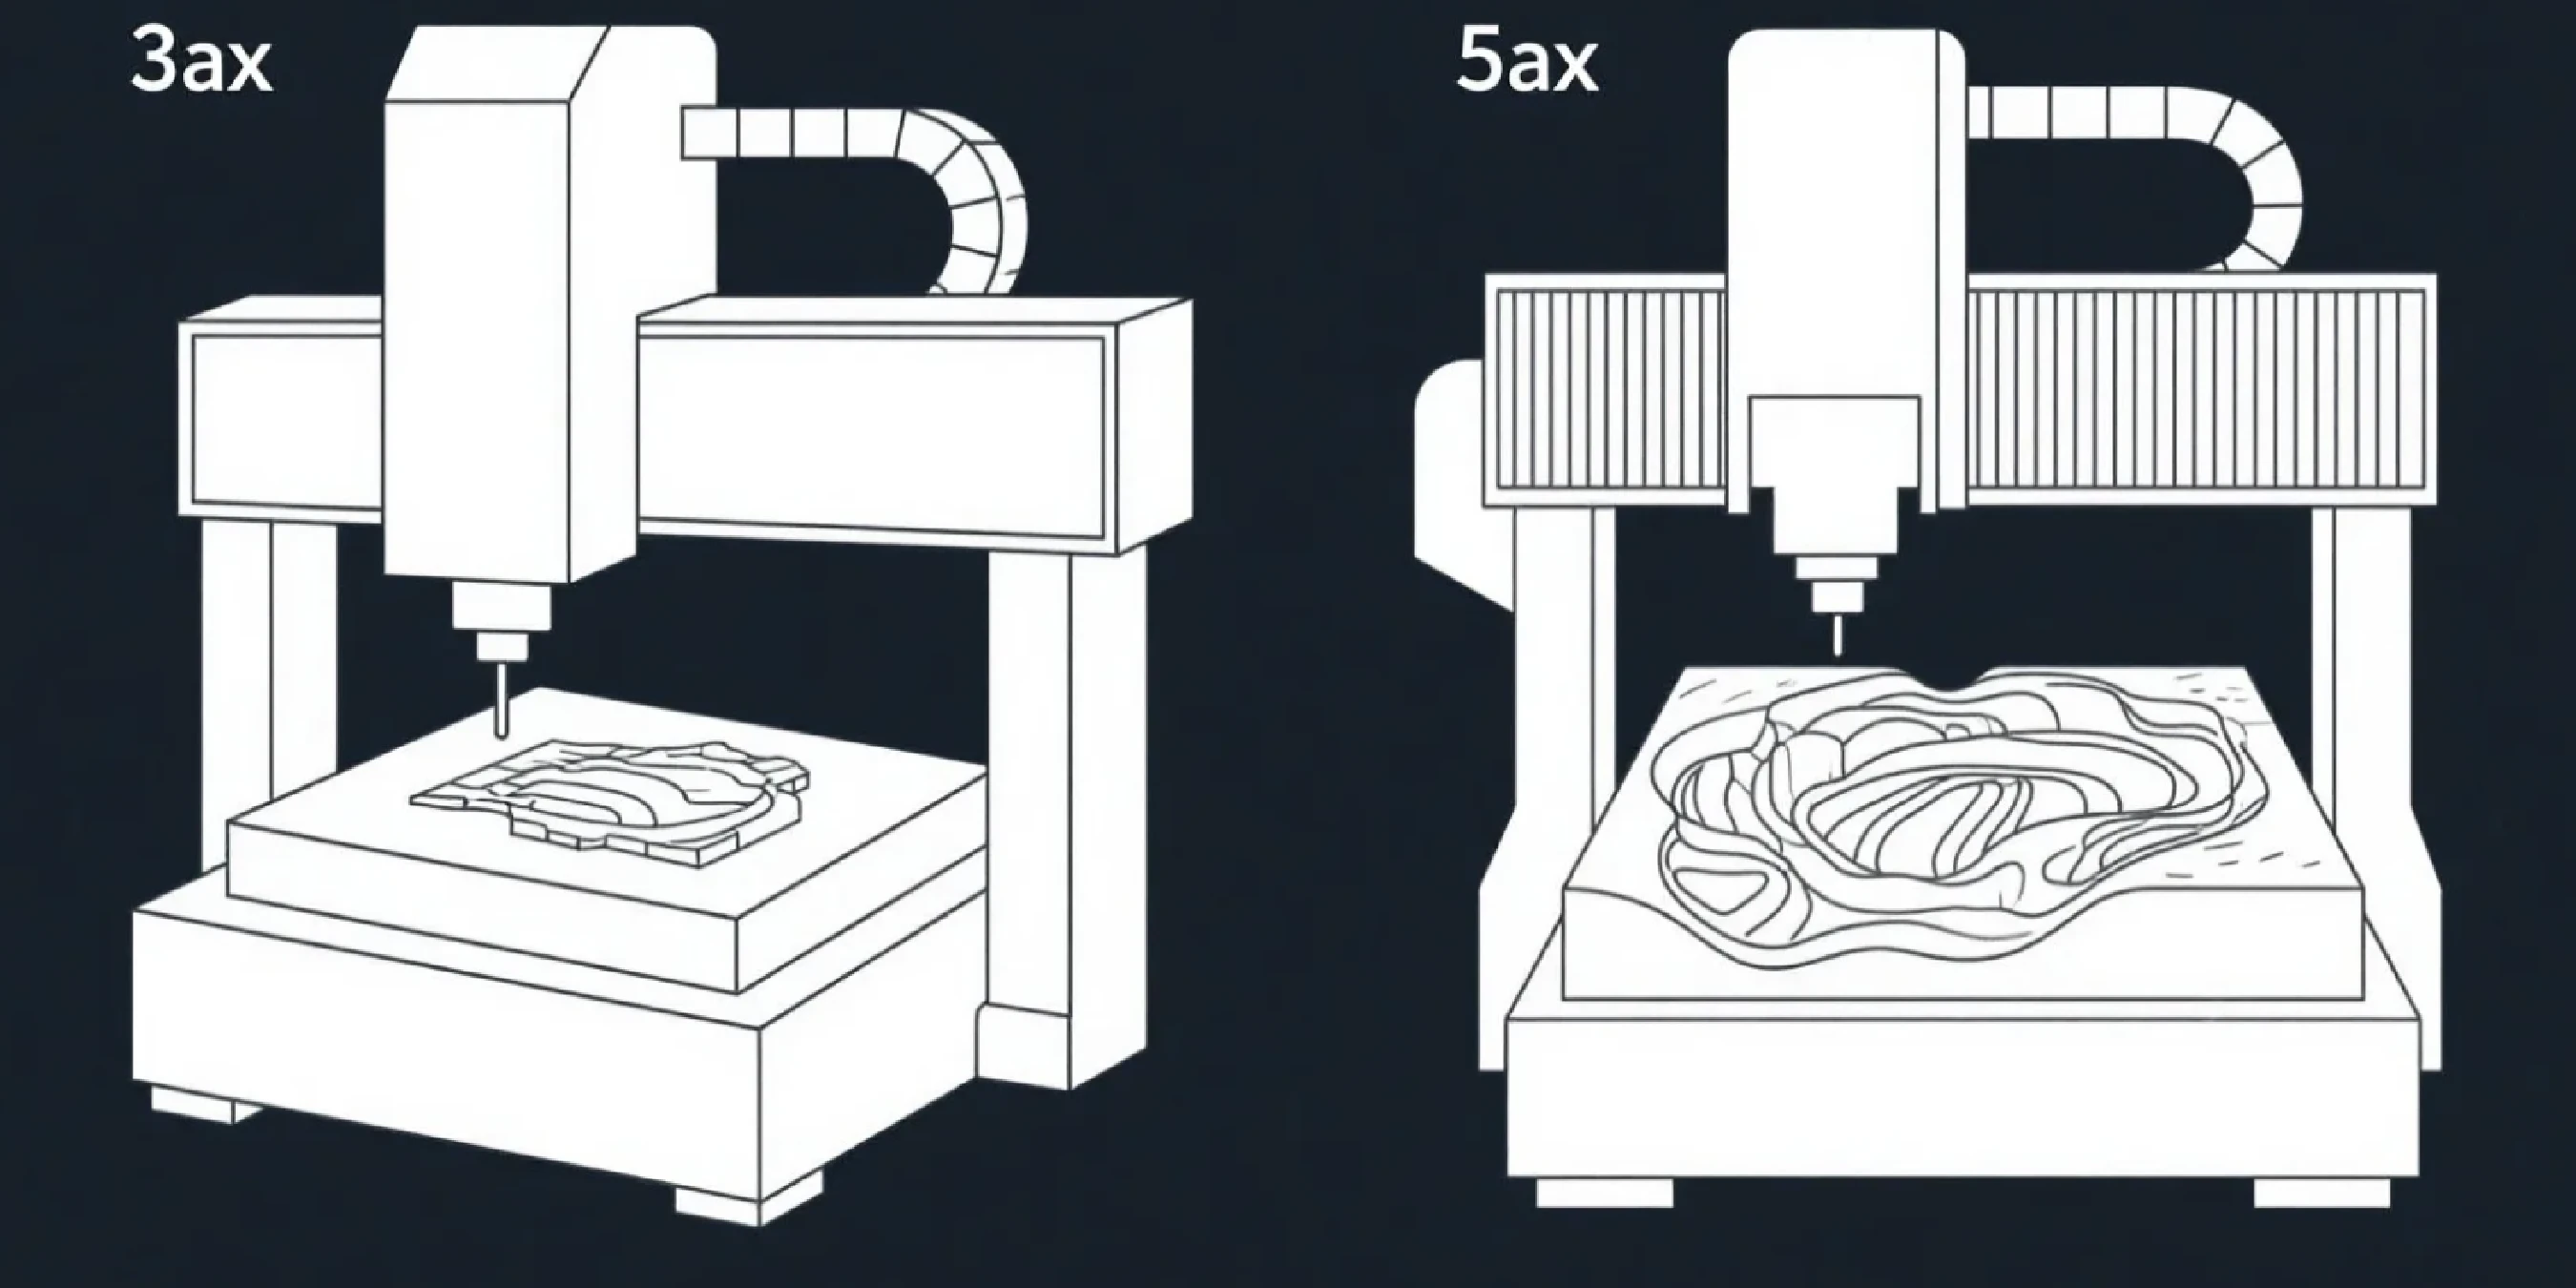
Most common and budget-friendly choice. Handles flat designs, relief carving, lettering, and simple 3D shapes.
Best for: Signs, tombstones, decorative panels, simple sculptures
Price range: $10,000 - $50,000
Adds two rotational axes to improve tool access from different angles and reduce repositioning for suitable workpieces. Complex full-round sculptures may use simultaneous 5-axis machining, indexed setups or a suitable rotary-axis route, depending on geometry and tool access.
Best for: Full 3D sculptures, complex art pieces, precision components
Price range: $100,000 - $500,000+
| Project | Route to evaluate | Check before choosing |
|---|---|---|
| Flat relief or lettering | 3-axis routing | Can the tool reach every required surface from the planned setup? |
| Columns and wrapped patterns | Rotary-axis carving | Does the required toolpath use indexing or continuous rotary motion, and does the controller/CAM support it? |
| Parts machined from several fixed directions | Indexed setups or 3+2 machining | Can each orientation be held and referenced reliably? |
| Changing tool angles or difficult access | Simultaneous 5-axis machining where appropriate | Check the full tool and holder envelope, fixture clearance and available machine travel. |
A three-dimensional model does not automatically require five-axis motion. Mark the faces and details that need another approach direction, then compare the fixture, cutter reach and program for each candidate route.
For the model, record units, overall dimensions, relief depth, the smallest inside radius, thin edges or webs, visible faces and the surfaces that may be held in a fixture. These details determine whether the drawing can be machined as intended.
Spindle power directly determines what stone hardness you can handle. Hard materials like granite need serious power or they'll just laugh at your attempts.
Stone carving generates massive forces. Your machine frame must be rock-solid. Any vibration kills precision and can destroy tools.
Quality machines use heavy-duty welded steel frames. They weigh twice as much as cheap alternatives but it's worth every pound.
Common sizes include 1325 (1300×2500mm), 1530 (1500×3000mm), and larger. Remember: buy bigger rather than smaller-upgrading later costs a fortune.
Stone carving demands specific tooling. Choose wrong and you'll get poor results plus equipment damage.
Diamond tools remain a main choice for hard or abrasive stone. Carbide tools also have selected stone-machining applications, so the choice should be matched to the stone, tool geometry and cutting task rather than excluding every stone from carbide use. Research on NC cutting of marble has compared tungsten carbide and CVD diamond inserts; that example does not make an ordinary wood router bit suitable for every stone.
CNC carving is fundamentally digital manufacturing-software skills are crucial. Many people think software is complicated, but once you understand the basic workflow, it's quite manageable.
CAD (Computer-Aided Design) software is where your creativity becomes concrete 3D models.
CAM (Computer-Aided Manufacturing) software converts 3D models into machine instructions. This step determines your final quality.
Designs project from background surface while remaining connected. Common for decorative panels, monuments, building facades.
Technical points:
Complex geometric patterns creating decorative screens. Requires high machine precision-5-axis machines handle these much better.
Technical points:
Theory only goes so far-actual hands-on experience is what matters. Here's the real production workflow with practical tips for each stage.
Different stones have vastly different characteristics. Choosing the right material is half the battle.
Stone must be absolutely solid on the machine bed. Any movement ruins the project and can damage equipment.
Common methods: Mechanical clamps, vacuum tables, custom fixtures
Check: Even clamping pressure, no deformation during machining
Set toolpath parameters in CAM software, including roughing and finishing operations.
A rendered model or toolpath preview is one part of the job. The stone, fixtures, tool assembly and posted machine program must refer to the same setup. Save a setup sheet with the program so the work can be reproduced or checked on a later batch.
Once machining starts, close monitoring is crucial, especially for initial passes.
Monitor: Coolant flow, tool condition, sound changes
Emergency response: Stop immediately if problems arise
After machining, manual finishing and polishing are usually needed.
Tasks: Remove tool marks, detail refinement, surface polishing
Tools needed: Sandpaper, polishing compound, hand carving tools
Use a representative stone offcut or first workpiece to compare the CAD/CAM plan with the finished result. Include a shallow area, a deeper feature, a fine inside detail and a visible edge where these occur in the actual design.
| Record | What it helps you decide |
|---|---|
| Stone, model revision and tool specification | Whether the result belongs to the same material and setup as the intended batch |
| Feature dimensions, visible detail, chipped edges and remaining tool marks | Whether the job meets the drawing and finishing requirements |
| Programming, setup, machining and manual finishing time | Which stage limits accepted output |
| Toolpath allowance and stepover used | Whether a later finish change came from the program rather than a different design |
| Tool wear, cooling delivery and any interrupted passes | Whether the trial conditions can be repeated |
Change one relevant factor at a time when comparing trial results. For surface finish, assess tool condition, stepover, feed and spindle speed together within the tool and machine's permitted range. A speed increase is useful only when it improves the actual cut under those conditions.
Keep the approved program, setup sheet, sample photographs and inspection results together. If a fissure, fixture change or different block orientation changes the job, record it before using the earlier result to plan production.
Beginners often encounter various issues during actual operation. Small problems can become big headaches if not addressed. Here's some hard-earned practical experience.
Common causes:
Solutions:
Common causes:
Prevention:
Affecting factors:
Optimization tips:
According to Grand View Research's 2023 report, the global stone market is expected to exceed $100 billion by 2028. Demand for customized, high-end products continues growing-exactly where CNC technology shines.
A friend of mine was a traditional stone mason who invested $200K in CNC equipment in 2020. First year focusing on tombstones and simple decorative work, he hit $800K revenue. Second year he started taking architectural projects and broke $1.5M annual income.
Key success factors:
Almost all natural stones are possible, but difficulty varies:
Cost structure is complex-beyond the machine there are many supporting expenses:
Equipment costs:
This varies by person, mainly depending on your background and time investment:
Learning timeline:
Theoretically no limits-it depends on your equipment specs and technical skill:
Provide the design at the intended units and scale, together with the stone dimensions, required relief or cutting depth, smallest details and finish requirements. The CAM job also needs the selected machine configuration, tool assembly, fixture arrangement, work origin and the matching postprocessor. A new program should be checked against the real setup before batch production.
Estimate the full route: model preparation, CAM programming, setup, roughing, finishing, repositioning or tool changes, and manual finishing. Compare the estimate with a representative trial and record the required quality. A small stepover may improve fine detail while increasing finishing time, so compare accepted output and the remaining handwork together.
For comparison across machine types and a separate investment calculation, see the stone CNC machine buying guide.
 English

Get A Easy Solution
Chat Online
Hi, this is Lizzy from Dinosaw ( Not a Robot ). Which Machine ( model ) do you want? Please WhatsApp us now
Hello 👋 How can we help?